
Axolotls, also known as Mexican Walking Fish, are aquatic salamanders native to the Xochimilco region of Mexico. Though not fish, they remain fully aquatic throughout their life, a phenomenon known as neoteny, making them a fascinating subject of study in the world of herpetology. With a life span ranging from 10 to 15 years in captivity, these endearing creatures have become increasingly popular as exotic pets.
In the wild, axolotls thrive in the remnants of Xochimilco’s ancient lake system, characterized by a dynamic network of canals and lakes. Replicating this complex aquatic environment within a captive setting necessitates a clear understanding of the aquatic ecosystem’s underpinnings. The backbone of this ecosystem, and indeed the crux of successful axolotl keeping, lies in the nitrogen cycle—a natural process that detoxifies harmful waste products in the water.
Setting up an axolotl tank isn’t simply about filling it with water and introducing the axolotl. Rather, it involves a process known as ‘cycling’, which facilitates the establishment of beneficial bacteria within the tank. These bacteria play an indispensable role in maintaining a healthy aquatic environment for your axolotl. Over the course of this article, we will examine in detail the intricacies of cycling an axolotl tank, providing an authoritative guide to help you navigate this essential aspect of axolotl care.
Why is Cycling Necessary for an Axolotl Tank?
To lay the foundation for understanding, let’s draw your attention to the concept of the nitrogen cycle. Essentially, this cycle signifies the progression of beneficial bacteria in your tank that helps convert toxic waste products, primarily ammonia, into less harmful substances.
Simply put, these bacteria take the ammonia produced by your axolotl and other organic waste in the tank, convert it to nitrites, and then transform those nitrites into nitrates. Each of these steps is carried out by different types of bacteria that colonize your filter and other surfaces in the tank.
Without the presence of these vital bacteria, ammonia levels in the tank can spike, posing a serious threat to your axolotl’s health. The process of cycling is to ensure the establishment of these bacterial colonies before your axolotl moves in. Skipping this process could lead to a condition known as ‘new tank syndrome’, which is notorious for causing axolotl fatalities.
What Materials Do You Need to Cycle an Axolotl Tank?
Equipped with the knowledge of ‘why’, let’s venture onto the ‘how’. Before initiating the cycling process, it’s necessary to gather all the required materials. Here’s what you’ll need:
- Axolotl Tank (20 gallons for one axolotl, 10 additional gallons for each additional axolotl)
- Filter (Sponge filters are preferable)
- Water Conditioner (Dechlorinator)
- Source of Ammonia (e.g., fish food or pure ammonium chloride)
- Heater (Optional – axolotls prefer colder water temperatures)
- Test Kit (API Freshwater Master Test Kit or similar)
Please note, the tank size is of paramount importance. A too-small tank will not only stress your axolotl but can also hamper the effective establishment of the nitrogen cycle.
How to Set Up Your Axolotl Tank Before Cycling?
Tank setup forms a crucial phase before diving into the cycling process. For a single axolotl, a 15-20 gallon tank usually suffices, but if you plan on housing more, remember the golden rule – add an extra 10 gallons for every additional axolotl.
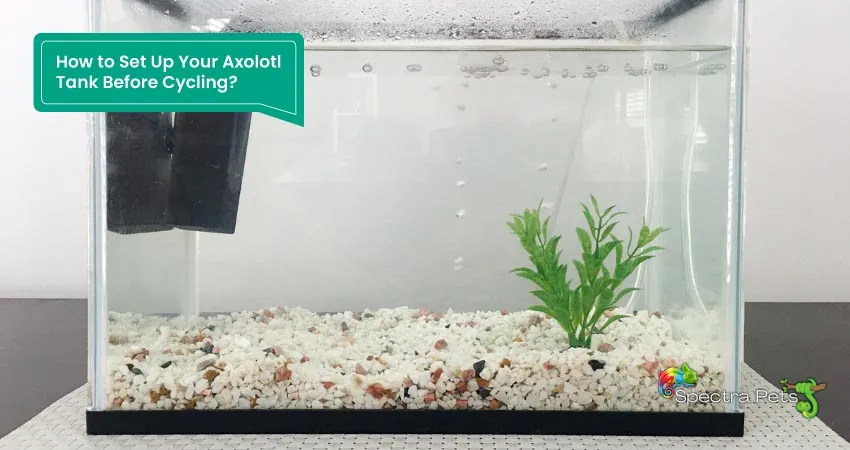
Start by arranging the tank décor and substrate (if you’re using any). Axolotls don’t necessarily require a substrate but if you choose to add one, fine sand is usually a safe option. Avoid gravel as axolotls can accidentally ingest these leading to impaction.
Next, fill up the tank with dechlorinated water. Place your sponge filter in the tank and set it up according to the manufacturer’s instructions. It’s essential to ensure the filter is functioning well as it will be the primary home for beneficial bacteria.
How to Initiate the Cycling Process in an Axolotl Tank?
With your tank all set, it’s time to begin the cycling process. Start by adding an ammonia source to the tank. Fish food or a tiny piece of raw shrimp can work, but many aquarists prefer using pure ammonium chloride for a more controlled process.
The idea is to mimic the waste your axolotl will produce. The ammonia source will start decomposing, releasing ammonia into the water. This is the first step of the nitrogen cycle and will attract ammonia-consuming bacteria to your tank.
Consistently monitor the water parameters, specifically ammonia, nitrite, and nitrate levels. This is where your test kit comes handy. For the initial days, you’re likely to observe a rise in ammonia levels.
How Long Does It Take to Cycle an Axolotl Tank?
The million-dollar question on everyone’s mind is about the time frame. Generally, it takes anywhere between 2 to 6 weeks to fully cycle an axolotl tank. However, various factors may influence this timeline, such as the temperature of the tank water (higher temperatures can speed up bacterial growth), the initial concentration of ammonia, and even the pH of the water.
It’s crucial to stay patient and let nature take its course. The wait will ensure your tank is a safe and healthy home for your axolotl.
How to Monitor and Maintain Water Quality During the Cycling Process?
Monitoring your water quality throughout the cycling process is essential to ensure the nitrogen cycle is advancing as expected. Here’s a brief overview of the water parameters you should expect during different stages:
| Stage | Ammonia | Nitrite | Nitrate |
|---|---|---|---|
| Start | High | Low | Low |
| Mid-Point | Decreasing | Increasing | Low |
| End | Low | Low | High |
| Cycled | Zero | Zero | Detectable |
When ammonia and nitrite levels drop to zero and nitrates are detectable, it’s an indication that your tank is cycled. However, remember to be vigilant and maintain these ideal parameters. If at any point ammonia or nitrites spike again, it might indicate a hiccup in the nitrogen cycle which needs immediate attention.
What Are the Signs that the Axolotl Tank Has Been Successfully Cycled?
A successfully cycled tank will exhibit zero ammonia and nitrite levels, while nitrates will be present. It’s important to remember that although nitrates are less harmful than their counterparts, very high levels can still cause issues. Regular water changes are recommended to keep nitrate levels in check.
Interpreting your water test results is a skill every axolotl owner should master. Once you see these ideal parameters sustained for about a week, you can safely say your tank is cycled and ready to welcome its new inhabitant!
How to Introduce Your Axolotl to the Cycled Tank?
Congratulations! You’ve reached the final and the most rewarding phase of this journey. Start by gradually acclimating your axolotl to the tank water. Place the axolotl (still in its bag) into the tank, allowing it to adjust to the water temperature over the next 15-30 minutes.

After this, slowly start introducing small amounts of tank water into the bag. Over the next hour, continue this process until the bag has mostly tank water. Finally, gently net the axolotl out of the bag and release it into the tank.
How to Maintain a Cycled Axolotl Tank in the Long Term?
Once your axolotl has settled into its new home, it’s important to maintain water quality consistently. Regular water changes, typically 20% every week, can help keep nitrate levels low. Additionally, continue testing your water regularly to catch any potential problems early.
Conclusion
Cycling an axolotl tank is a non-negotiable, albeit rewarding journey every axolotl owner must undertake. By allowing nature to take its course, you’re laying a solid foundation for a healthy, long-lived axolotl. So, roll up those sleeves and get started!